Perler Beads for Kids: Ages, Safety & First Projects
A parent and teacher guide to fuse beads: age-by-age safety rules, how to pick a first project, running a classroom session, and turning kids' drawings into bead patterns.

Fuse beads are a rare craft that trainshand-eye coordination, color recognition and focus at once, with cheap materials and near-zero cost of failure. They come with two non-negotiables, though:beads are a small-parts item, and the iron is an adult’s tool. This guide covers how to play, age by age, for parents and teachers alike.
Pick a simple design under 20×20
Big, blocky motifs — a heart, a star, a rainbow — are the ideal start: few cells, few colors, finishable in one session. Early wins keep kids motivated.
Sort beads by color
Give each color its own compartment with just a small handful. Fewer loose beads mean better focus and no heartbreak over spills.
Bead bottom-up, row by row
Teach your child to follow the pattern one row at a time, standing each bead upright on its peg. Younger kids can place the outline first, then fill the middle.
Adults handle the ironing
The iron is always an adult's job: medium heat, steam off, ironing paper, slow circles, then cool under a flat weight. Kids can time it and watch.
Display the result
Once cooled, turn the piece into a fridge magnet, frame it or string it up. Visible finished work is the single biggest motivator for the next project.
Turn your child's drawing into a pattern
Upload a photo or doodle and get a bead pattern with a full color list
Ages & Safety Ground Rules
The short version: no beads under 3, and the iron never touches a child’s hand. The rest scales like this:
| Age | How to play | Watch for |
|---|---|---|
| 3–5 | Bead large designs (under 20×20) with an adult alongside | Constant supervision, choking hazard; beads stay out of mouths |
| 6–8 | Bead independently; adult irons | Tweezers for fine-motor practice; keep the play area contained |
| 9+ | Design, bead and pick palettes on their own | Introduce the editor to draw patterns; ironing still adult-only |
Two rules to repeat until boring: beads never go in mouths or noses, and the iron belongs to adults. Counting everything back into storage after each session doubles as tidy-up practice and a safety sweep.
Choosing the First Project
The first project has one goal: done within an hour, worth showing off. That means big color blocks and minimal detail. Four proven starting points:
- Heart — one solid color plus a highlight; the ideal “first ever” piece and a natural gift
- Star — a five-point outline that teaches symmetry in two colors
- Rainbow — banded rows, zero frustration, a natural color-recognition lesson
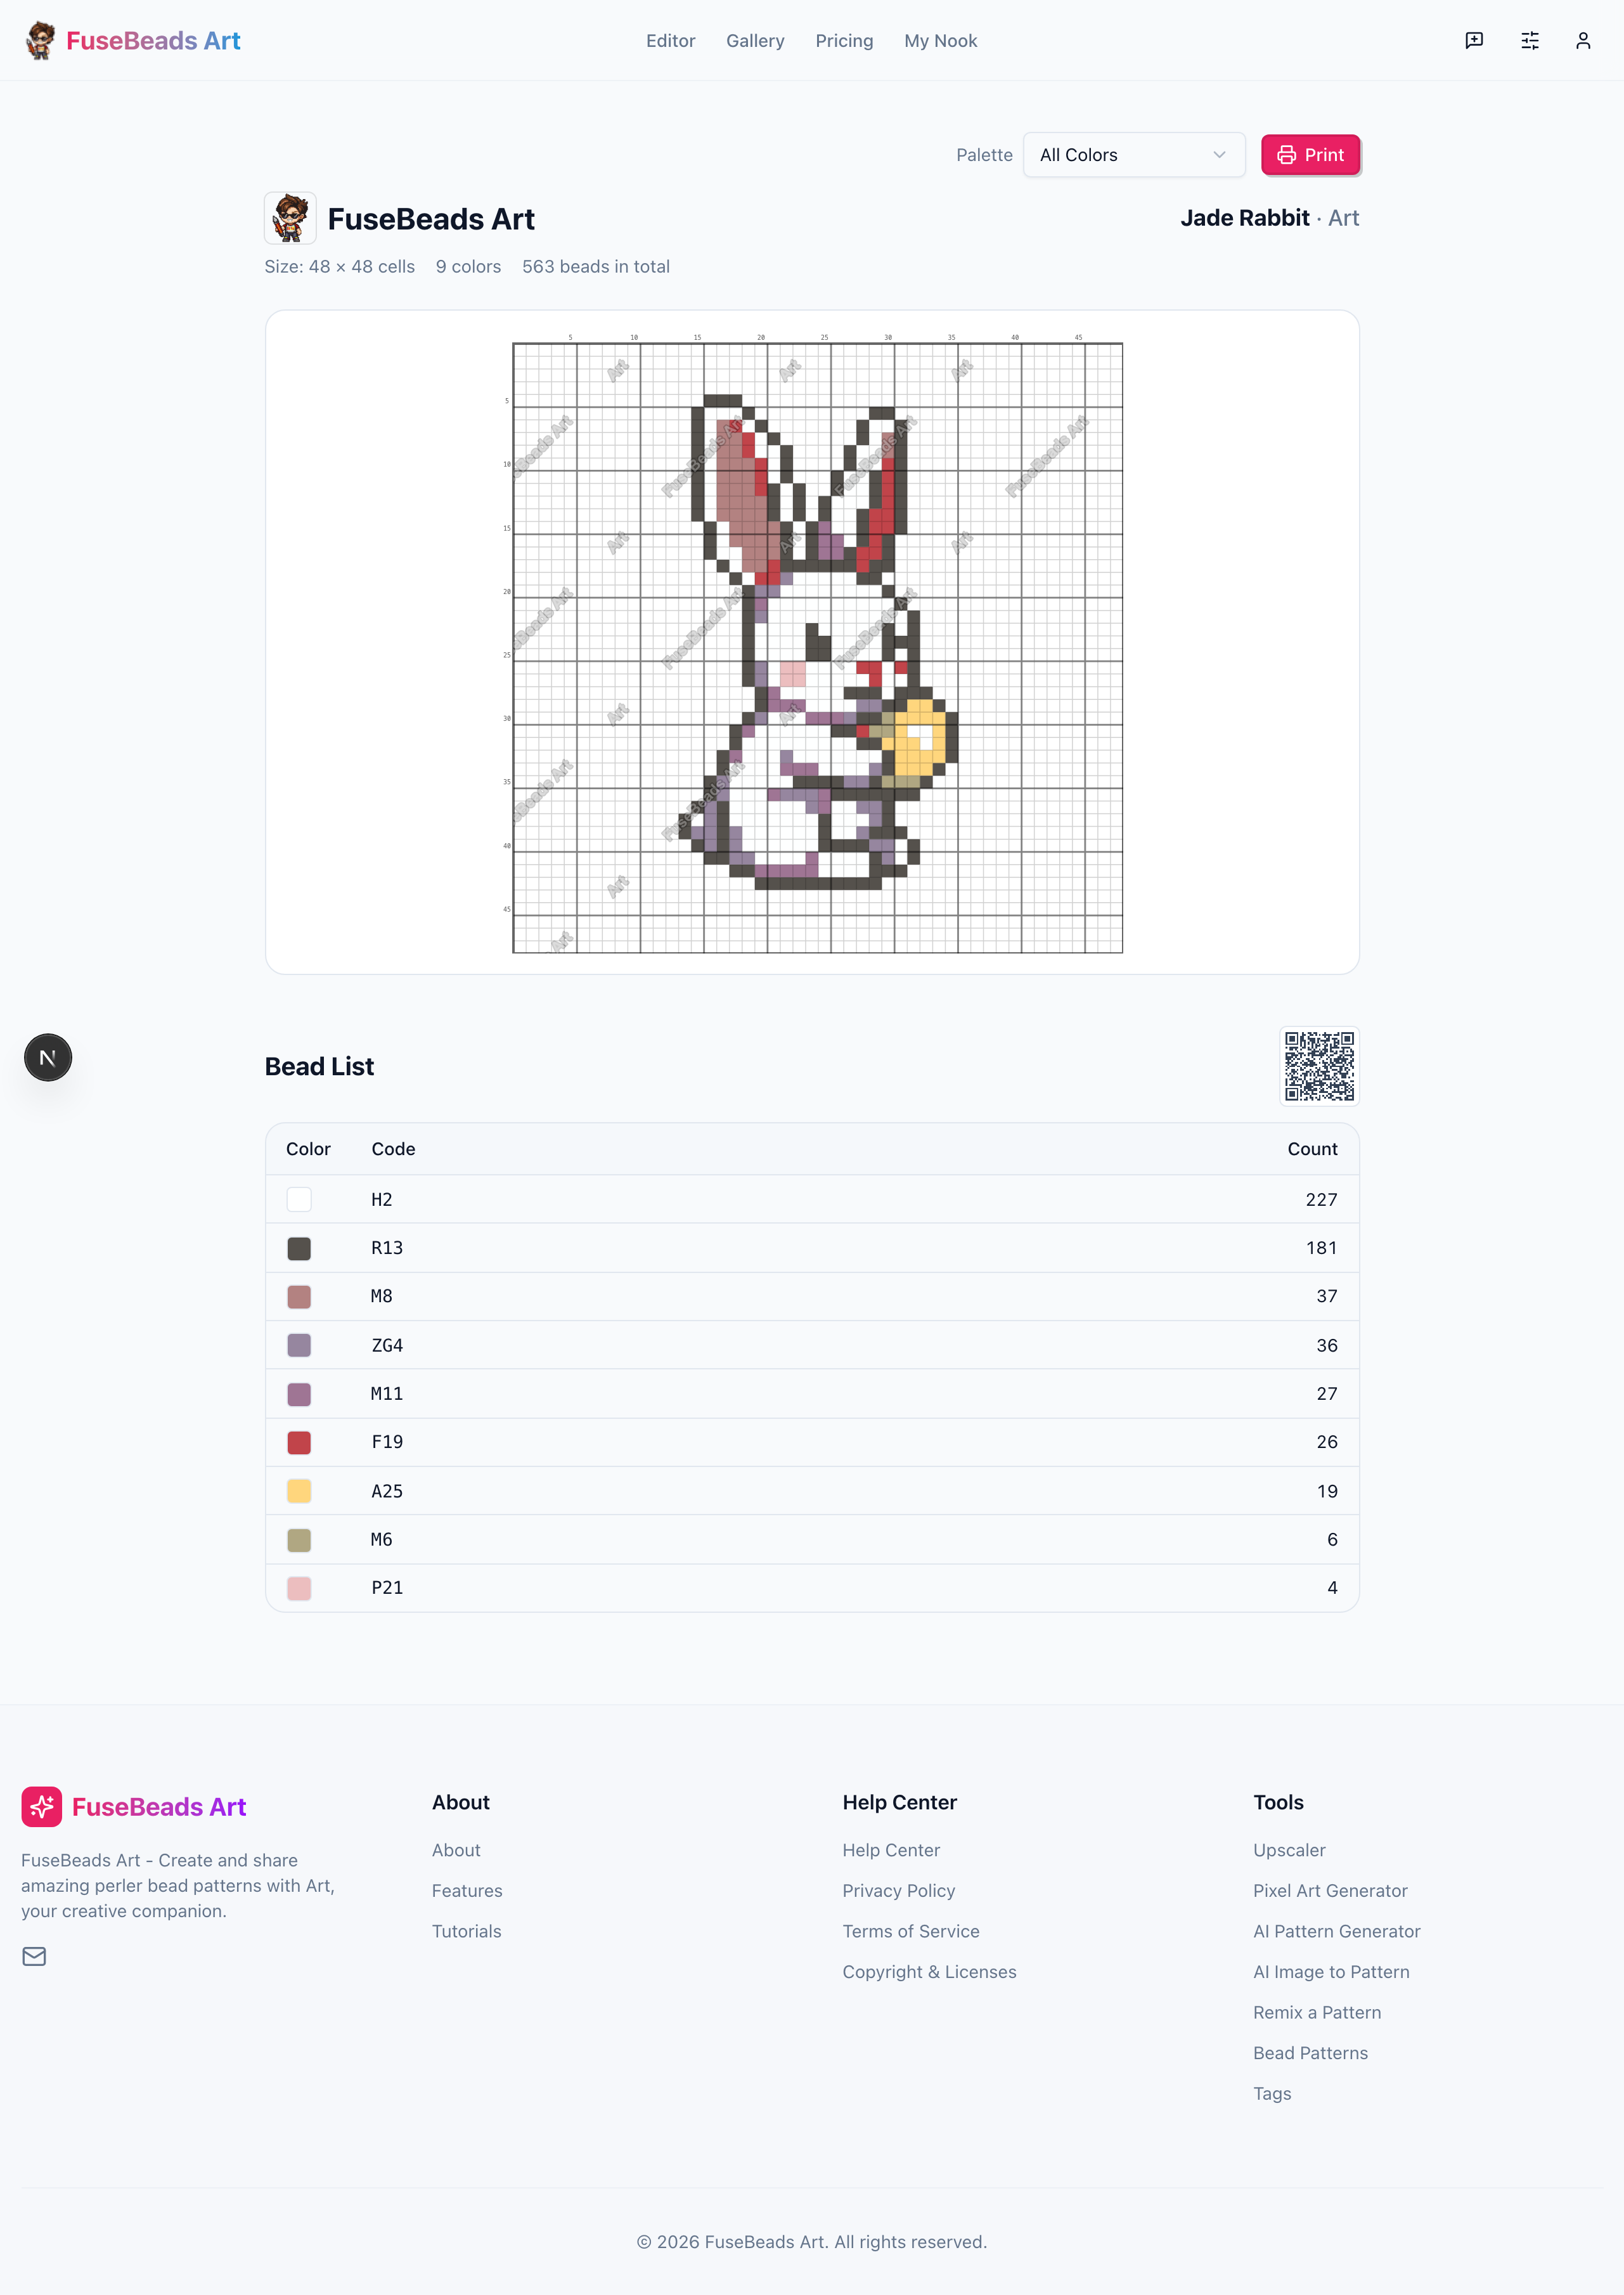
- Duckling — a round body with just two details (beak, feet); one notch harder than the heart

Keep it under 20×20 and three colors. Move to 30×30+ when the child asks for something harder — they will.
Running a Parent-Child or Classroom Session
One child is improvised; a group needs process. Three techniques that carry a session:
- Sorted trays: one compartment tray per child, colors never mixed — less squabbling, no dead time hunting for beads
- A pattern per child: printed or on a tablet; the rule is “check the pattern, then raise your hand”
- Ironing as a demonstration: collect all boards at the front and let the teacher iron while everyone watches the beads melt and fuse — usually the highlight of the class
Collaborative murals work well too: slice a large pattern into rows, assign a few rows per child, iron the whole thing at the end, and hang it in the classroom credited to everyone.
Turn Kids’ Drawings into Bead Patterns
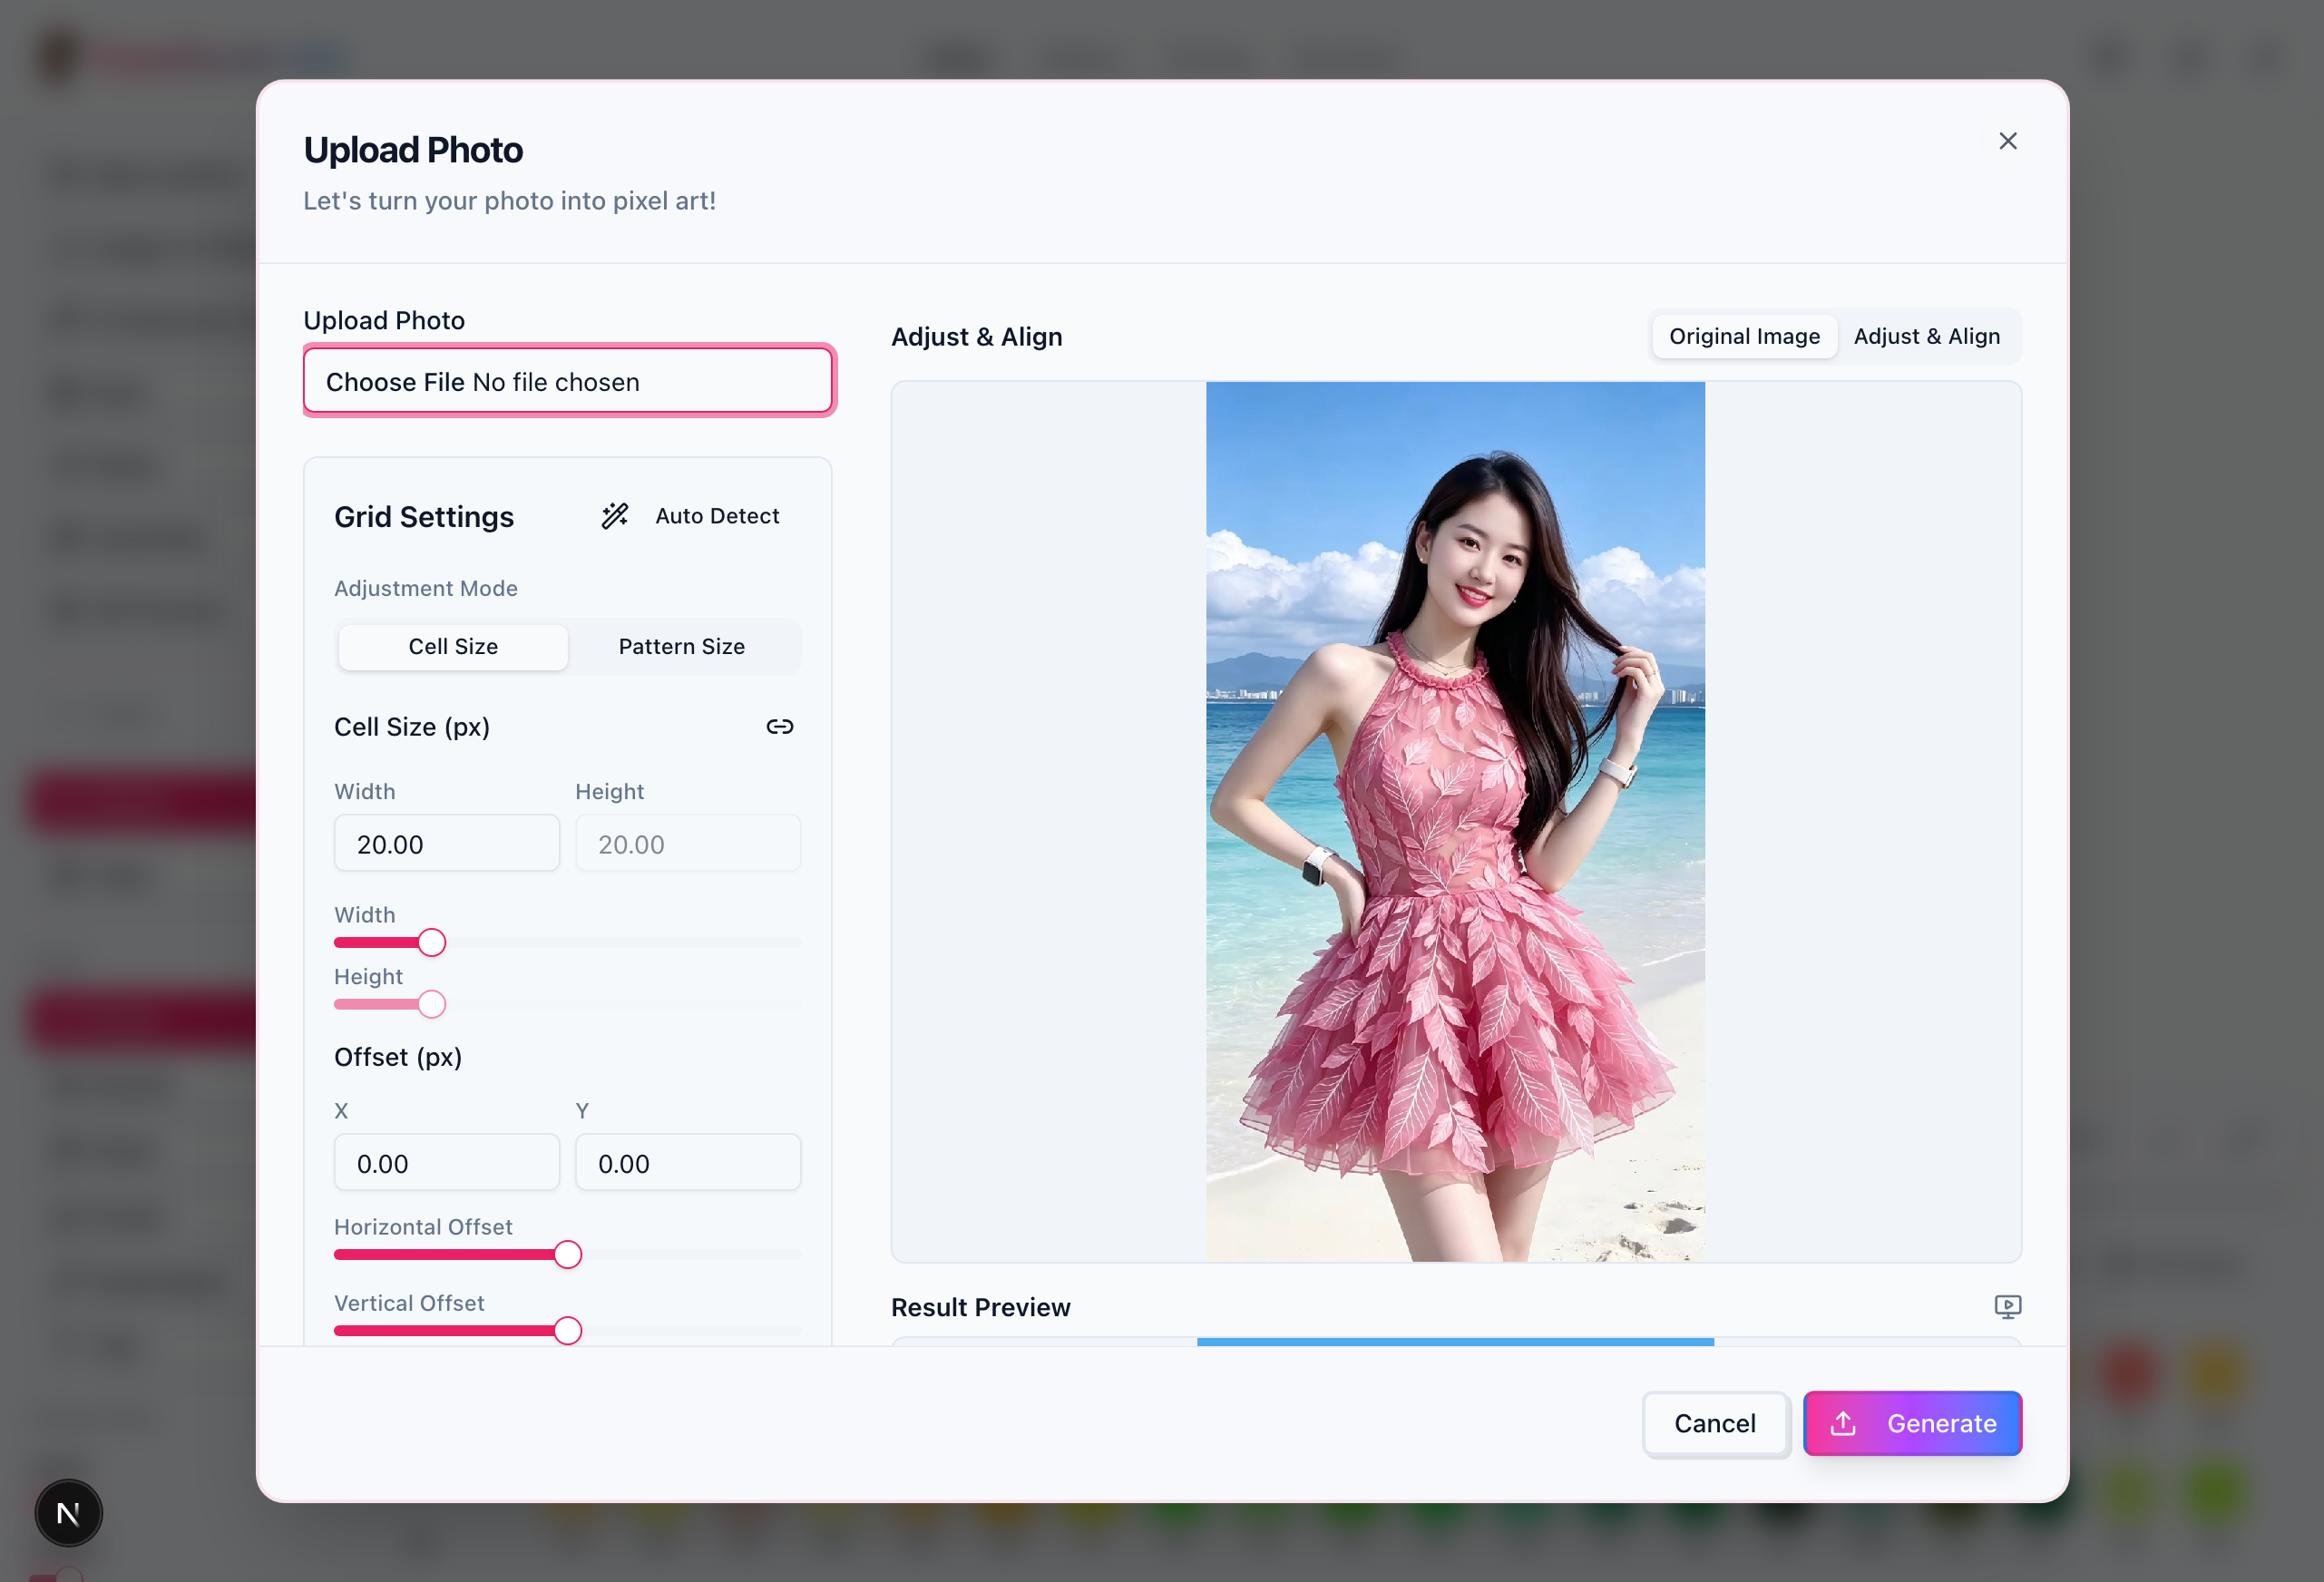
Photograph a child’s doodle and upload it to thepattern editor: it maps the image onto a bead grid, aligns colors to a real bead palette, and exports a pattern with a color list ready to shop from. Watching their own drawing become a physical piece on the wall is more motivating than another template — for kids and adults alike.
For the full photo-to-pattern flow (choosing images, sizing, controlling colors), see thephoto to perler bead pattern tutorial; for children’s drawings, keep the color count at 10 or below for the cleanest results.
After Beading: Ironing & Display
Adults iron following the standard process in theironing tutorial: medium heat, steam off, slow circles, flat cooldown. Don’t skip the display step — magnets, frames, hanging strings. A visible finished piece visibly lengthens the next session’s focus span.
FAQ
Find kid-friendly patterns in the gallery
Filter for small, low-color designs and save them in one click